Velocity Bolting Featured in Vancouver Tech Journal
We're proud to share that Velocity Bolting was recently featured in the Vancouver Tech Journal, in a piece titled "Velocity Bolting is solving a problem that holds up ships, refineries, and navy vessels alike."
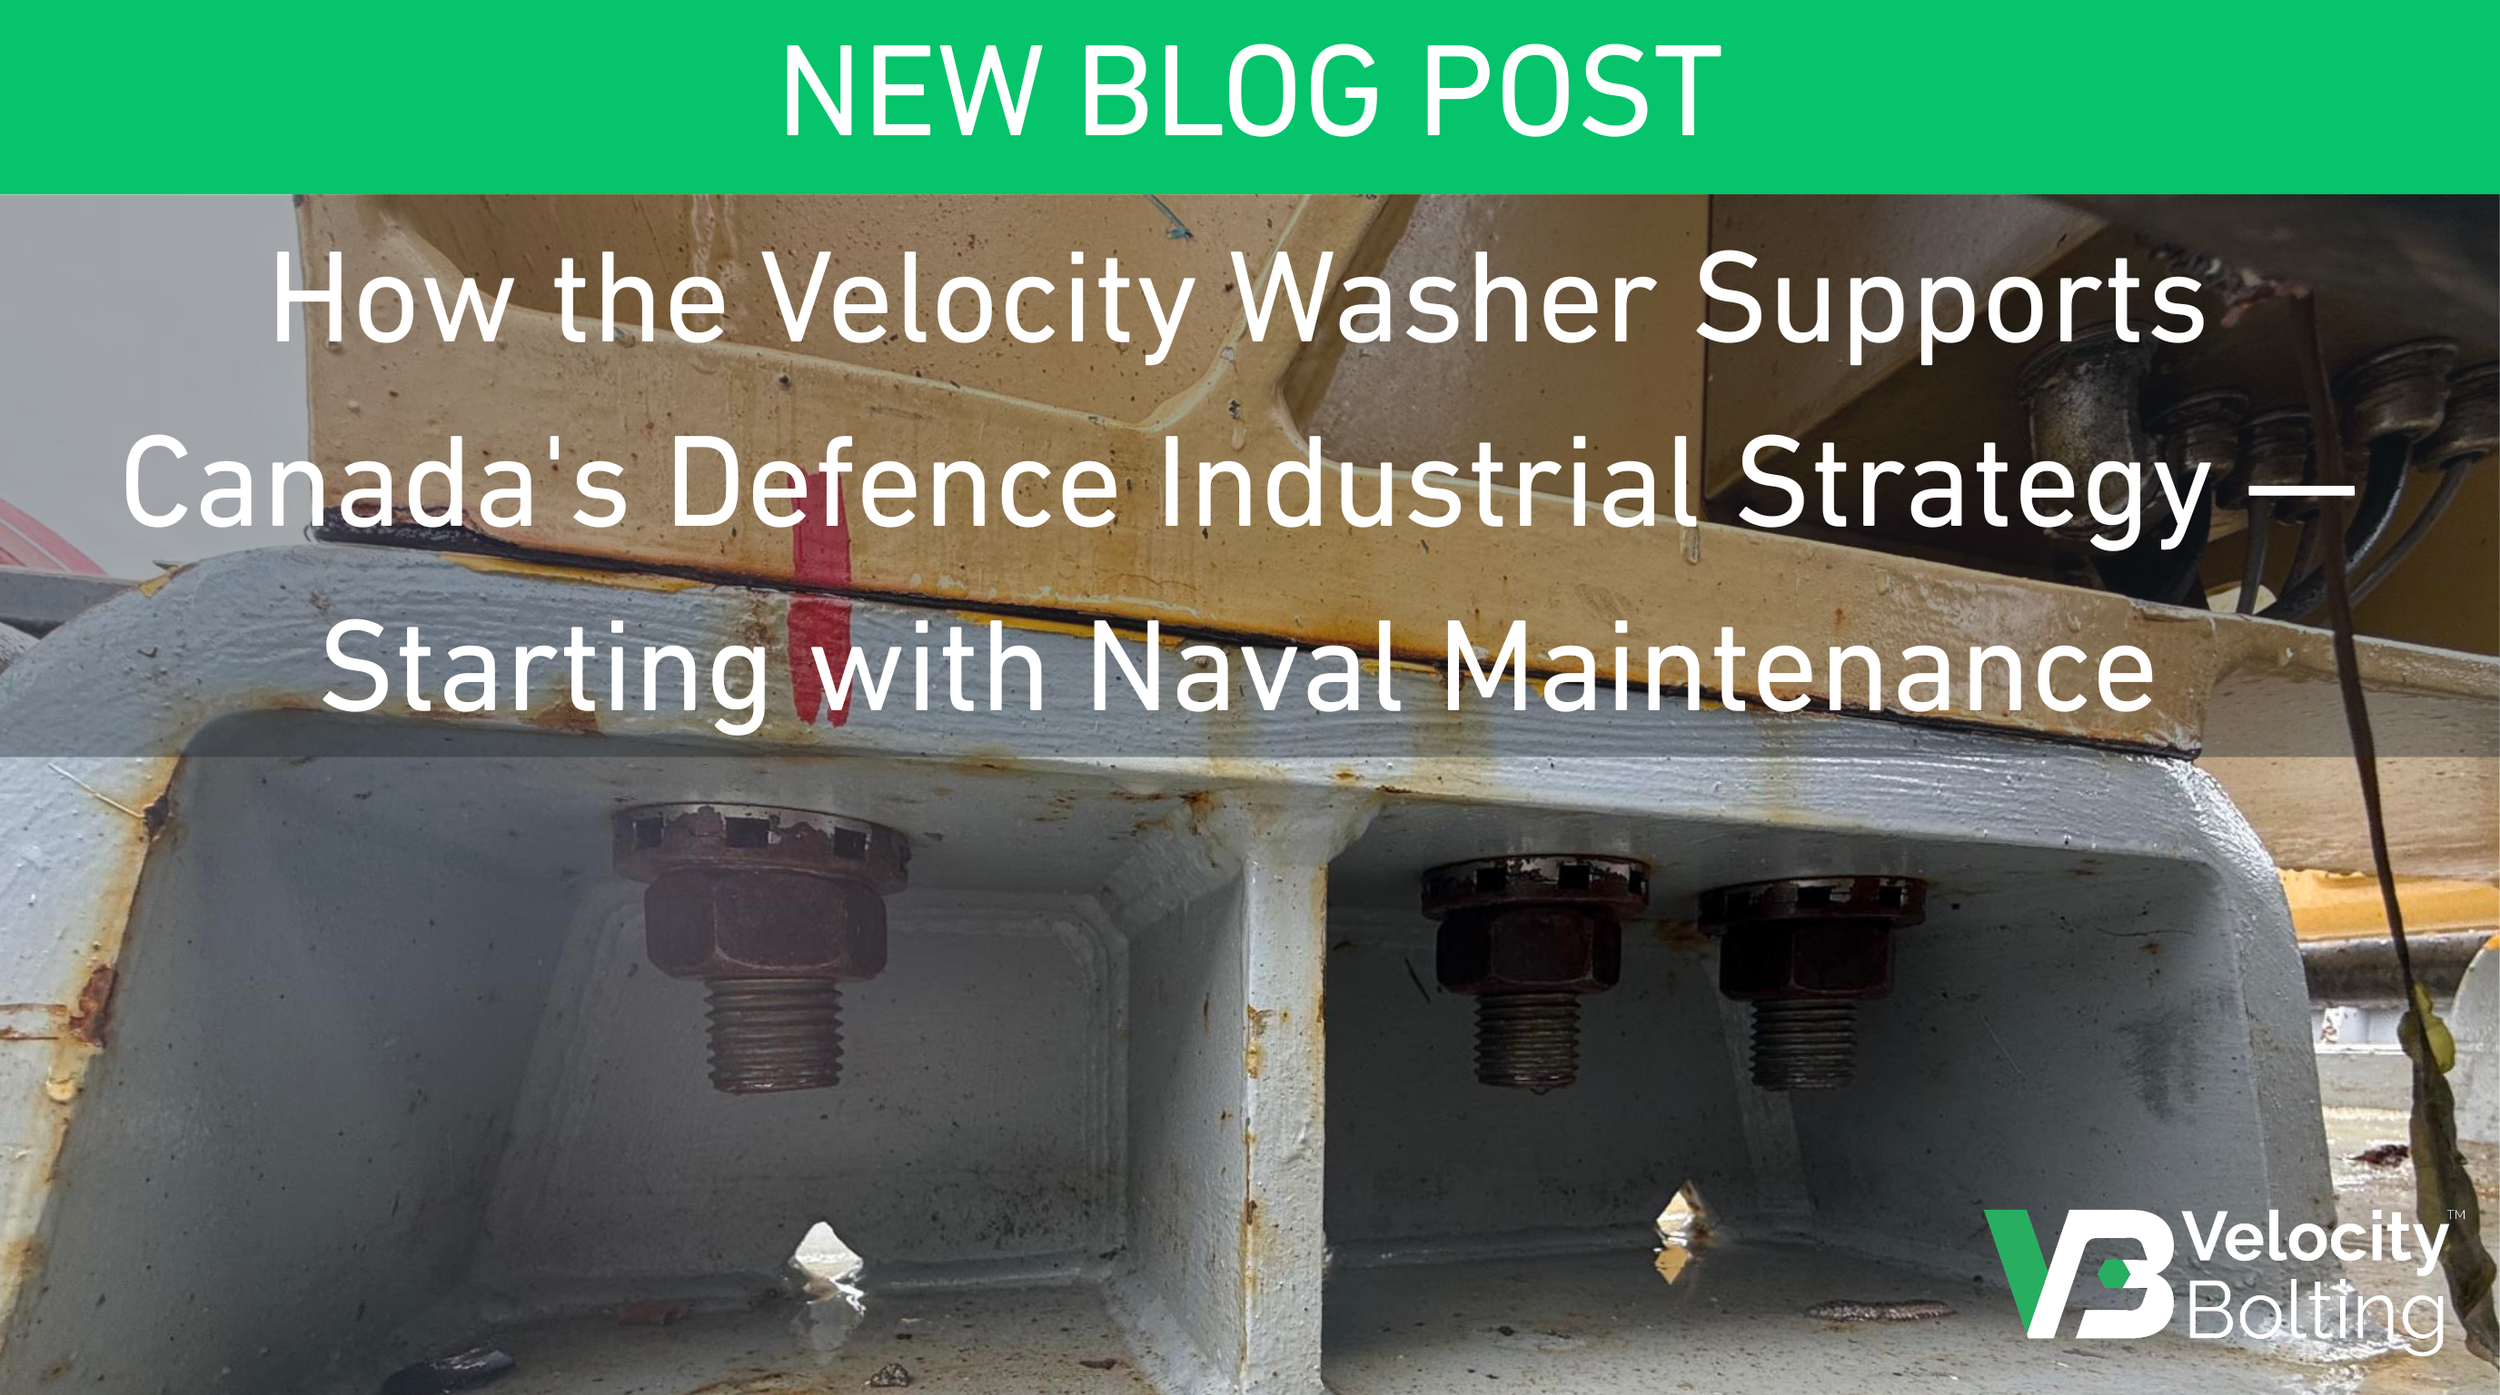
How the Velocity Washer Supports Canada's Defence Industrial Strategy — Starting with Naval Maintenance
Canada's naval maintenance pipeline is under pressure. The Velocity Washer is built to help prime contractors meet it.
Velocity Bolting Named Among NGen Advanced Manufacturing Grant Recipients at Hannover Messe
NGen, the industry-led organization behind Canada’s Global Innovation Cluster for Advanced Manufacturing, recently unveiled $62.7 million in funding to support world-class projects that aim to strengthen innovation, productivity, and competitiveness across the manufacturing sector.
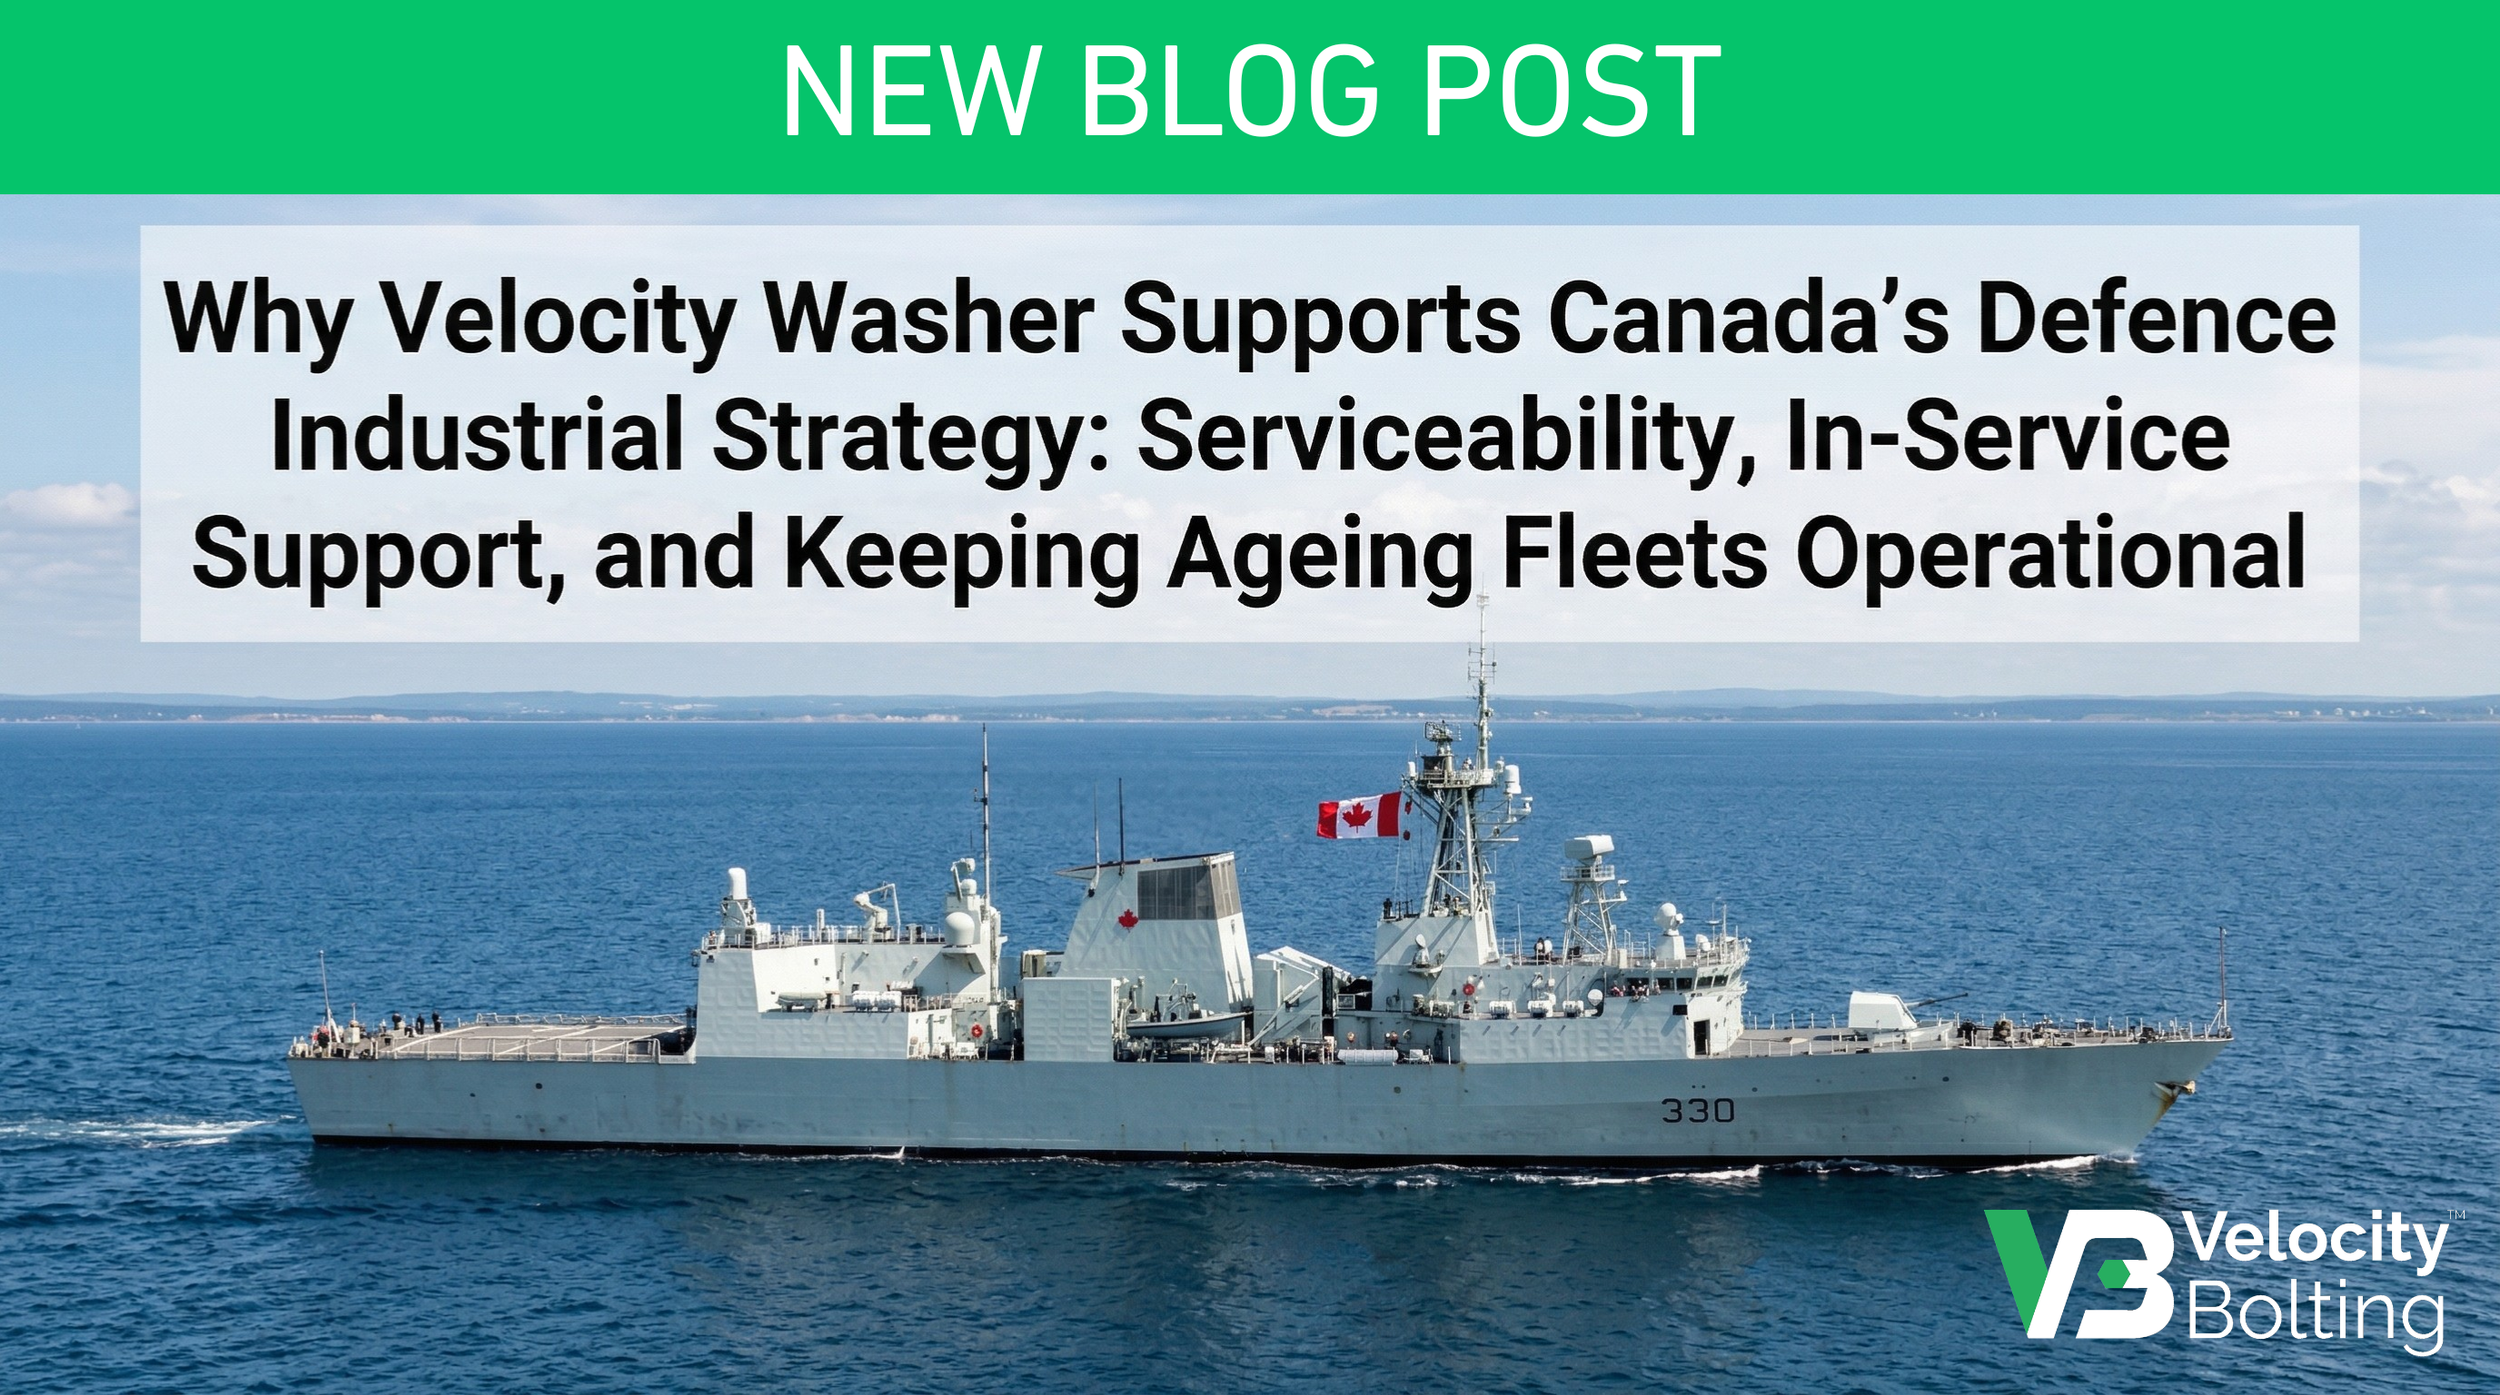
Why Velocity Washer Supports Canada’s Defence Industrial Strategy: Serviceability, In‑Service Support, and Keeping Ageing Fleets Operational
Canada’s Defence Industrial Strategy (DIS) is unusually explicit about outcomes that matter to naval operators and in‑service support (ISS) organisations: within 10 years it aims to raise maritime fleet serviceability to 75%, and it identifies In‑Service Support (Naval; Land; Air) as a key sovereign capability to be prioritised for build‑in‑Canada procurement.
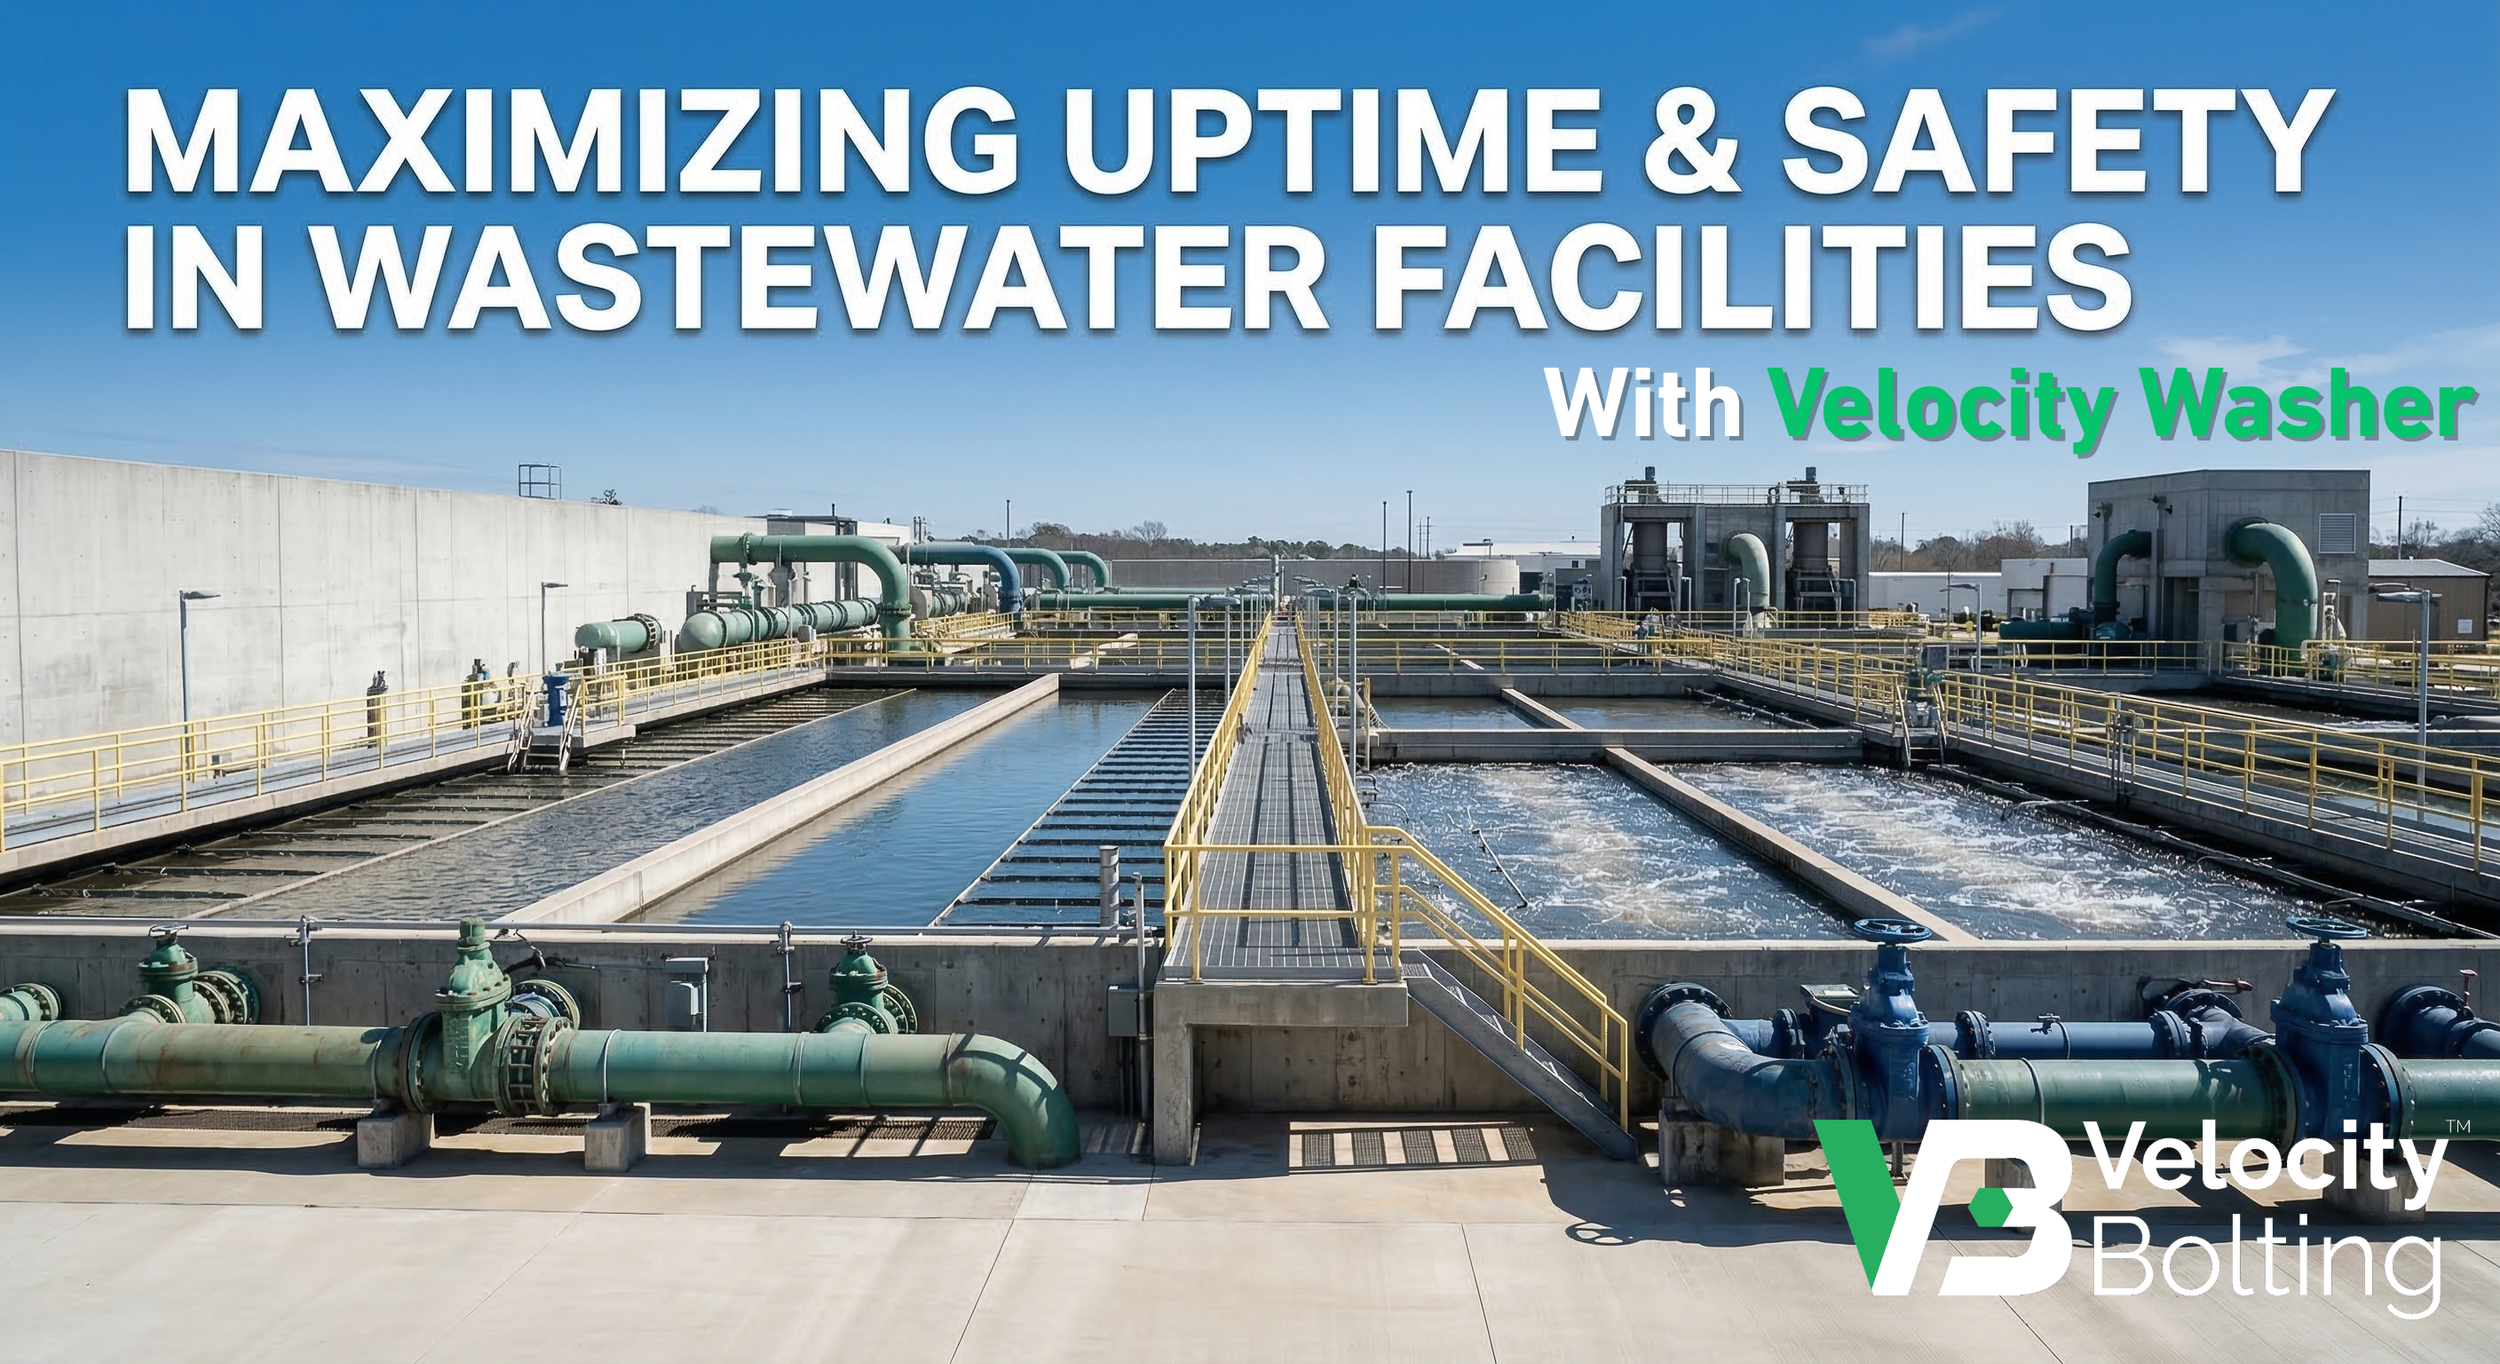
Maximize Uptime and Safety in Wastewater Facilities with the Velocity Washer
For maintenance teams in water and wastewater facilities, managing critical asset uptime isn't just an operational goal - it is a strict mandate driven by municipalities and government regulations. When critical infrastructure requires maintenance, the pressure to execute safely and rapidly is immense.
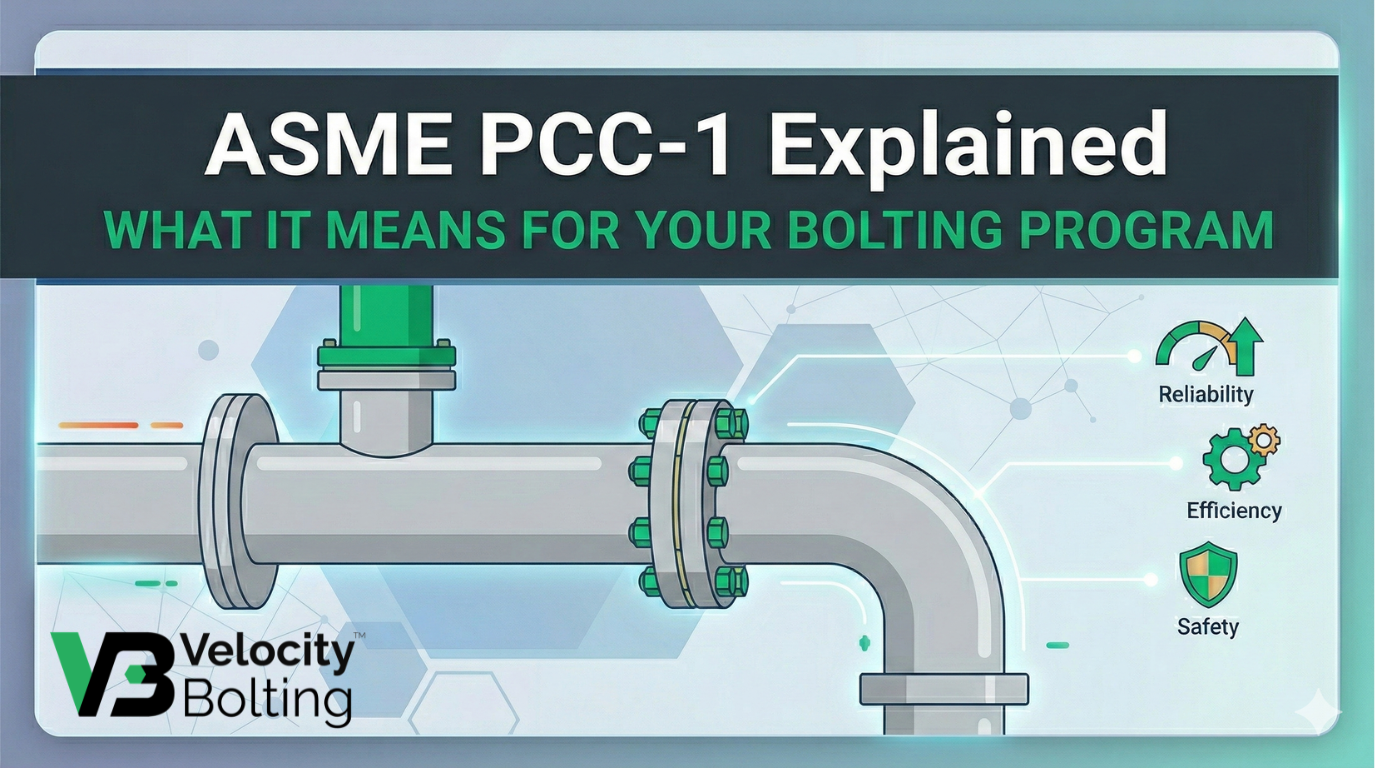
ASME PCC-1 Explained: What It Means for Your Bolting Program
If your plant has ever dealt with chronic flange leaks, surprise rework during startups, or “same flange, different result” bolt-ups depending on the crew, you’re already living in the world PCC-1 was written for.
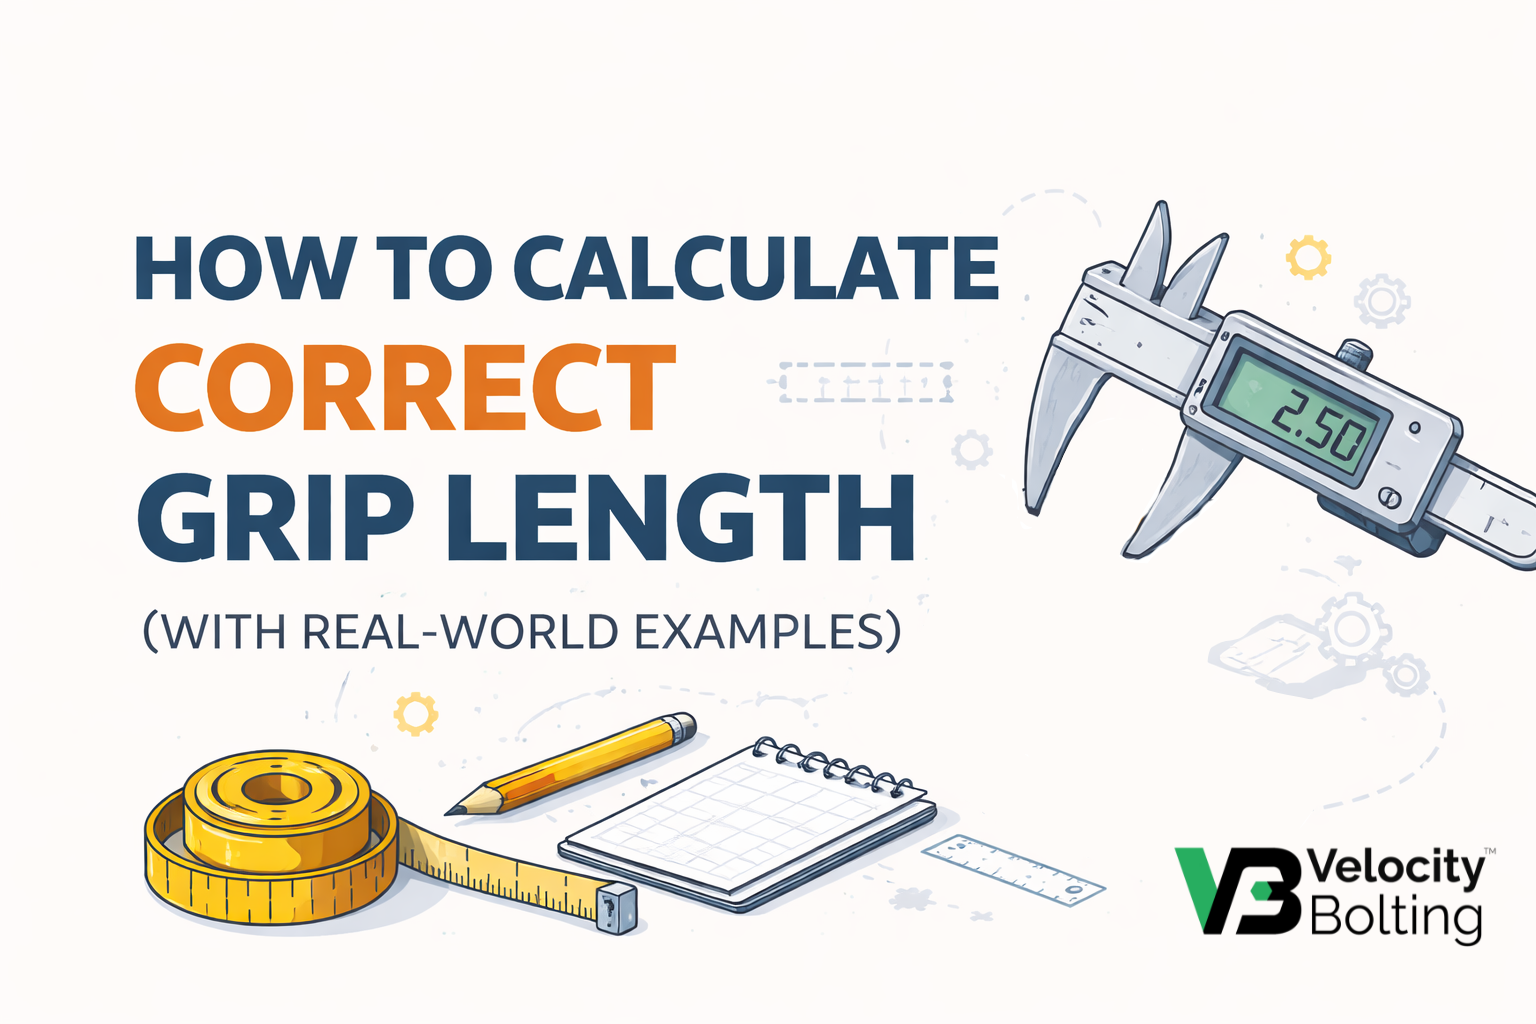
How to Calculate Correct Grip Length (With Real-World Examples)
When it comes to bolted flange joints, grip length is one of the most overlooked, but absolutely critical, factors for achieving proper preload, gasket compression, and joint integrity. In this post, we'll break down what grip length really means, why it matters, how to calculate it properly, and common mistakes to avoid. We'll also include real-world examples.

Bolt Tension vs. Bolt Stress vs. Clamp Load: What Engineers Actually Mean
Plant engineers and maintenance supervisors often hear terms like bolt tension, bolt stress, and clamp load used in discussions about bolted joints and flange assemblies. These terms are related but not identical – and mixing them up can lead to confusion or even maintenance mistakes.
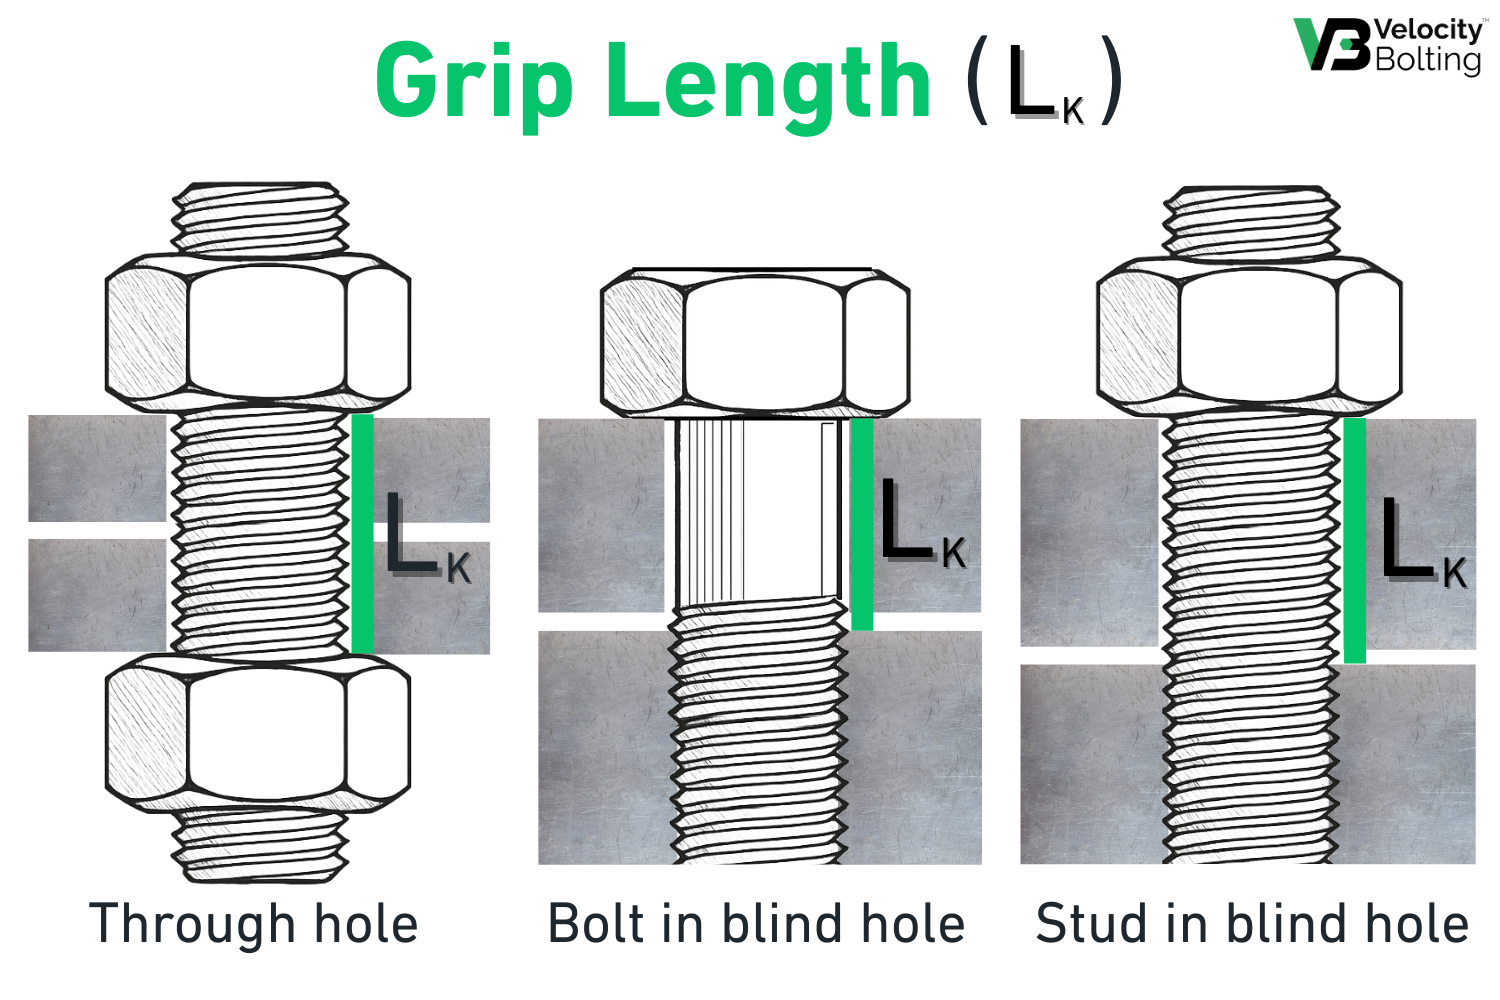
Understanding Grip Length in Bolts and Studs
In bolted joints, grip length is a critical design parameter that directly affects joint integrity and performance. Simply put, grip length is the total thickness of the materials a fastener (bolt or stud) clamps together.

Why Use Washers? A Technical Guide to Washer Types (Standard, Hardened, Belleville, Lock, and Velocity)
Washers may be small and often overlooked, but they play a critical role in bolted joints. In engineering applications, using the right washer can mean the difference between a reliable connection and a failed assembly.

From Shutdown to Startup: How Bolt Failure Impacts Plant Turnarounds
Plant turnarounds – those planned shutdowns for maintenance and inspections – are high-stakes events in the oil, gas, and petrochemical industries. Every day of downtime is carefully scheduled and extremely costly. Yet, despite meticulous planning, something as small as a bolt can throw an entire turnaround off track.

What is a Velocity Washer?
What is a Velocity Washer? Learn more about the what, why and how of the technology in this post.

Why Stainless Steel Experiences Thread Galling More Frequently Than Other Metals
Critical Flanges: Advanced Washers Eliminate Galling and Hot Work (Chemical Engineering)
This article was originally published in Chemical Engineering in November 2022.

Galling: The Hidden Enemy of Heat Exchangers
Heat exchanger maintenance often comes with a frustrating challenge: bolts and nuts that seize up during disassembly. This seizure is usually caused by a phenomenon called thread galling – essentially a form of “cold welding” between the threads.
Why Galling Occurs on Threaded Fasteners

Hydraulic Bolt Torquing vs. Bolt Tensioning: What is the difference?
Hydraulic Bolt Torquing vs Bolt Tensioning: What is the difference?
Single Stud Replacement: An (ineffective) method to deal with galling
A comprehensive guide to single stud changeout (also known as “hot bolting”). We’ll cut to the chase: if you want to avoid all the headaches and safety issues related to single stud changeout, just use Velocity Washers.

The Galling Phenomenon: What exactly is galling?
Galling is a common mechanical phenomenon encountered during the fastening or disassembly of threaded components.